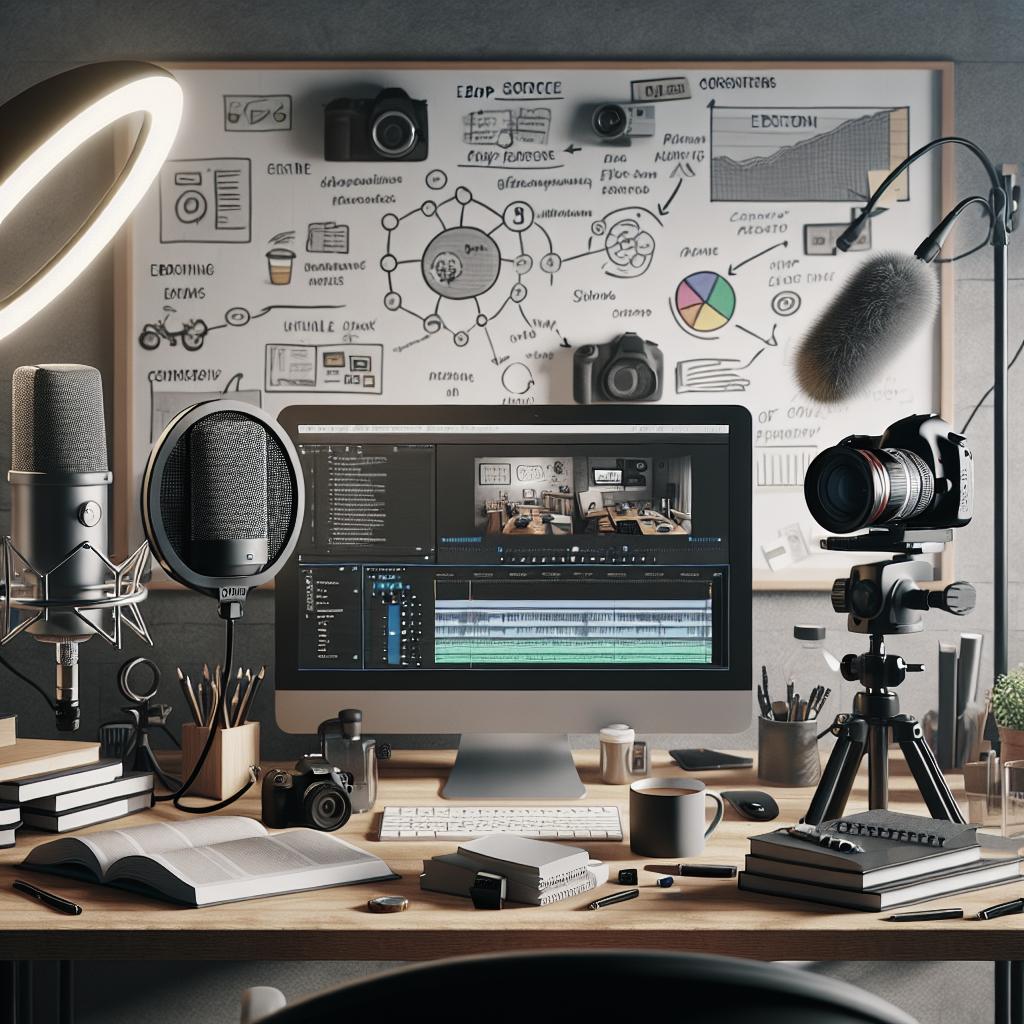
How to Make an Online Class Video
In today’s digital age, video content is an indispensable tool for educators looking to enhance their online courses. This blog post will explore why incorporating video can transform the learning experience, and offer practical tips for setting up a DIY home video studio. Additionally, we’ll discuss areas worth investing in to refine your video production quality. Whether you’re just starting out with a smartphone or considering upgrades for more professional output, this guide will provide comprehensive insights to help you create engaging and effective online class videos.
Why You Should Include Video In Your Online Courses
Video content is revolutionizing the way people learn online. Integrated properly, it boosts engagement, enhances comprehension, and adds a layer of accessibility that text-based formats often lack. Visual storytelling captures attention more effectively than plain text, offering a dynamic approach to presenting information.
Moreover, videos address varied learning styles and can convey complex ideas through demonstrations, animations, and visual cues—elements that text alone cannot achieve. The ability to pause, rewind, and revisit content allows learners to digest information at their own pace, contributing to a more comprehensive and customizable learning experience.
How to Create a DIY Home Video Setup for Online Courses (5 Key Tips)
1. Record with Your Smartphone
Today’s smartphones are equipped with high-quality cameras that can easily compete with more expensive recording equipment. They are convenient and accessible tools for creating video content without a hefty investment in professional gear. Ensure your phone is fully charged and has sufficient storage space before starting your recordings.
Using a smartphone tripod or stand enhances stability, reducing shaky footage. Additionally, experiment with different camera angles and compositions to maintain visual interest throughout your video.
2. Choose the Right Video Editing Software
Editing software is crucial to refining your raw footage into a polished final product. Whether you prefer to work on a desktop or mobile device, there are numerous applications available to suit your technical comfort level and budget. Free options like iMovie and DaVinci Resolve offer comprehensive features suitable for beginners.
Investing some time in learning the basics of video editing can significantly elevate the quality of your course videos. Cutting unnecessary clips, adding transitions, and incorporating text overlays enhance the learning experience by creating a more professional and engaging presentation.
3. Use Pillows and Other Soft Objects to Prevent Echoes
Sound quality is just as important as video clarity. Recording in large, empty rooms can result in undesirable echoes, distracting your audience. Mitigating these sound issues doesn’t require expensive equipment; instead, use soft furnishings like pillows or rugs to absorb excess sound reflections.
Positioning these items strategically around your recording area effectively dampens echoes, ensuring a crisper audio experience for your viewers. Remember, clear audio helps maintain focus and supports a better overall learning environment.
4. Get Creative with Your Backdrop
The setting in which you film plays a crucial role in how your video is perceived. A cluttered or too-bare backdrop can be distracting or unengaging. Consider creating a space that complements your content—simple settings work best, with minimal yet purposeful props.
You can personalize this space by adding elements such as books, plants, or posters related to your course content. This adds depth and personality to your videos, keeping viewers engaged and interested in the material.
5. Use Natural Light for the Best Look
Lighting can dramatically affect the quality of your videos. While purchasing professional lighting kits is an option, harnessing natural light is a more budget-friendly and accessible alternative. Filming near a window during daytime hours ensures ample light, creating a bright and inviting atmosphere.
Be mindful of the time of day and the direction of light sources. Diffuse harsh sunlight with curtains or use reflectors to soften shadows. This approach will make your videos appear more polished and aesthetically pleasing without any additional cost.
Where to Invest If You Want to Upgrade Your Course Videos
As your online course business grows, you may find it beneficial to invest in certain equipment to enhance your video production quality. Upgrading to a high-quality microphone can make a significant difference in audio clarity and student comprehension.
Consider also investing in a quality camera or lighting kit once your budget allows for it. These upgrades can refine the visual component of your videos, opening up opportunities for more creative content creation. By progressing step by step, you ensure each investment yields maximum impact on your production value.
Future Prospects
| Tips | Description |
|---|---|
| Use Smartphone | Leverage high-quality smartphone cameras for video recording. |
| Editing Software | Select user-friendly software like iMovie or DaVinci Resolve. |
| Sound Dampening | Utilize soft furnishings to reduce audio echoes. |
| Creative Backdrop | Design a simple yet engaging recording setup. |
| Natural Lighting | Take advantage of natural light for high-quality video. |
| Equipment Investment | Upgrade sound and video equipment as needed for enhanced quality. |
Building expertly-crafted online course videos is a gradual process that evolves as you develop your skills and resources. Investing time and effort into the initial setup while being open to enhancements assures you create compelling, professional content that resonates with your audience, ultimately contributing to your educational impact and outreach.